Basic LED Wall Sample Installation
Previous article:
Assemble Structure
Next article:
Assemble Components To Structure ( Power | Data Card )
Start assembling the magnets
All operations are carried out under power off.
To avoid scratching the surface of the LED module, please put foam underneath.
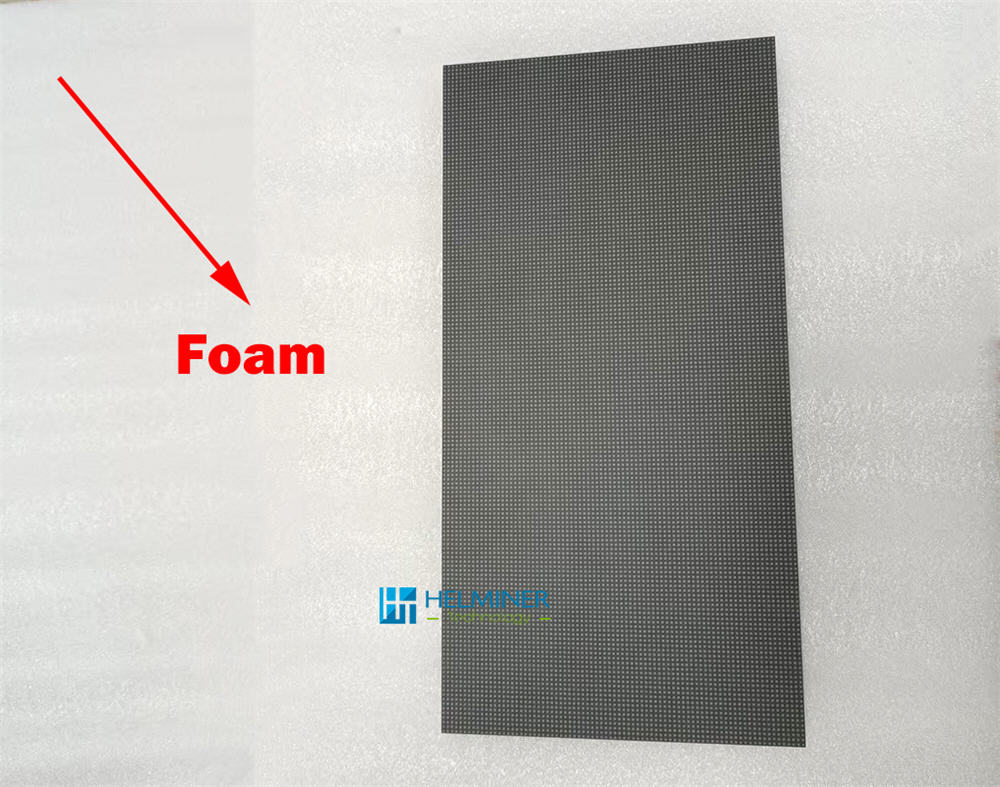
Lay the modules face down and flat,
do not stack them to avoid damage.
Prepare the magnets and start assembling.
Please do not directly touch or collide with any metal objects on the back of the electronic components to avoid static damage .
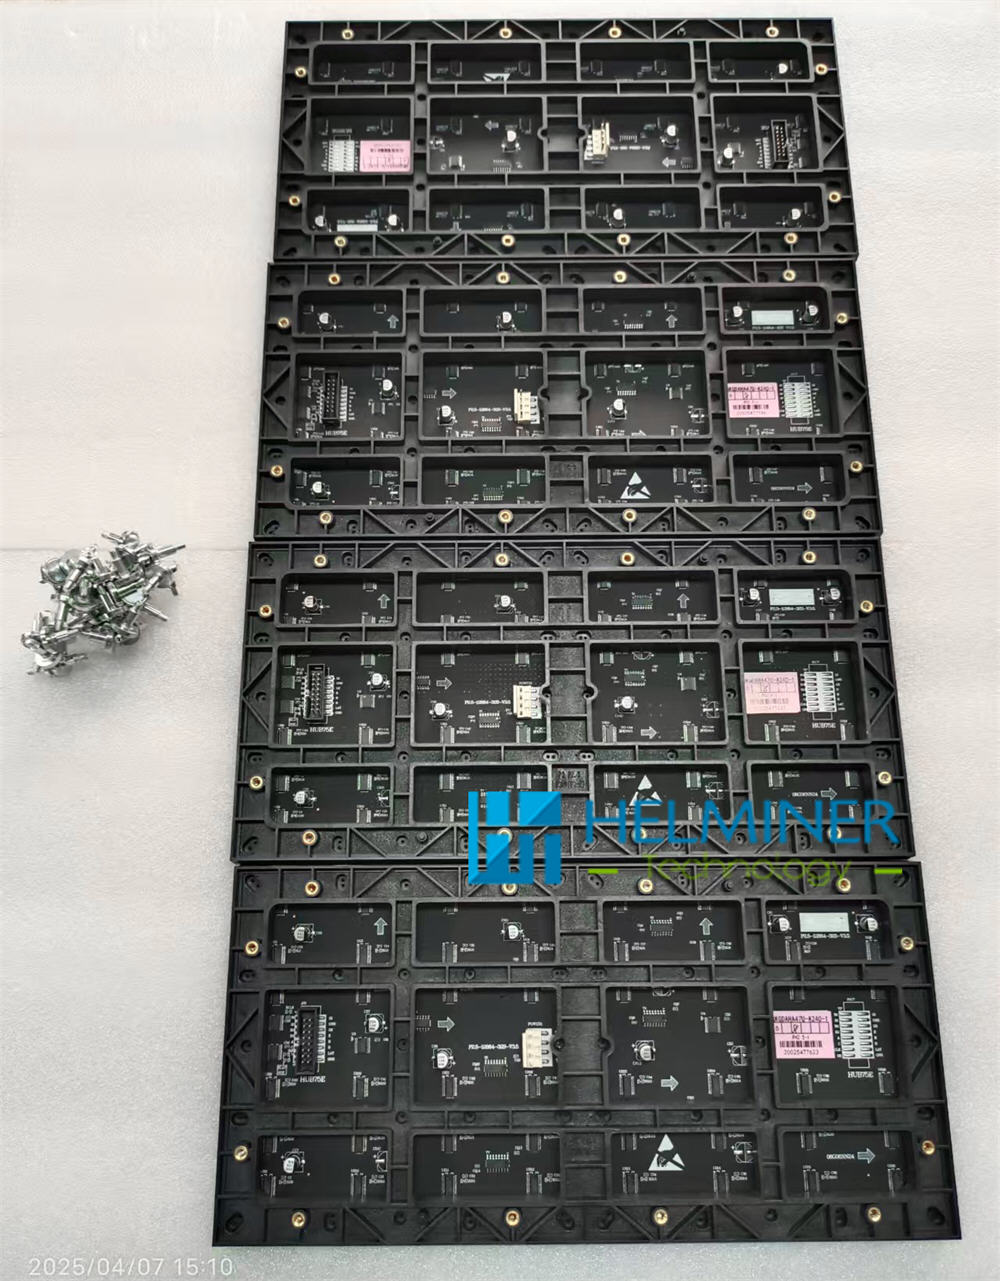
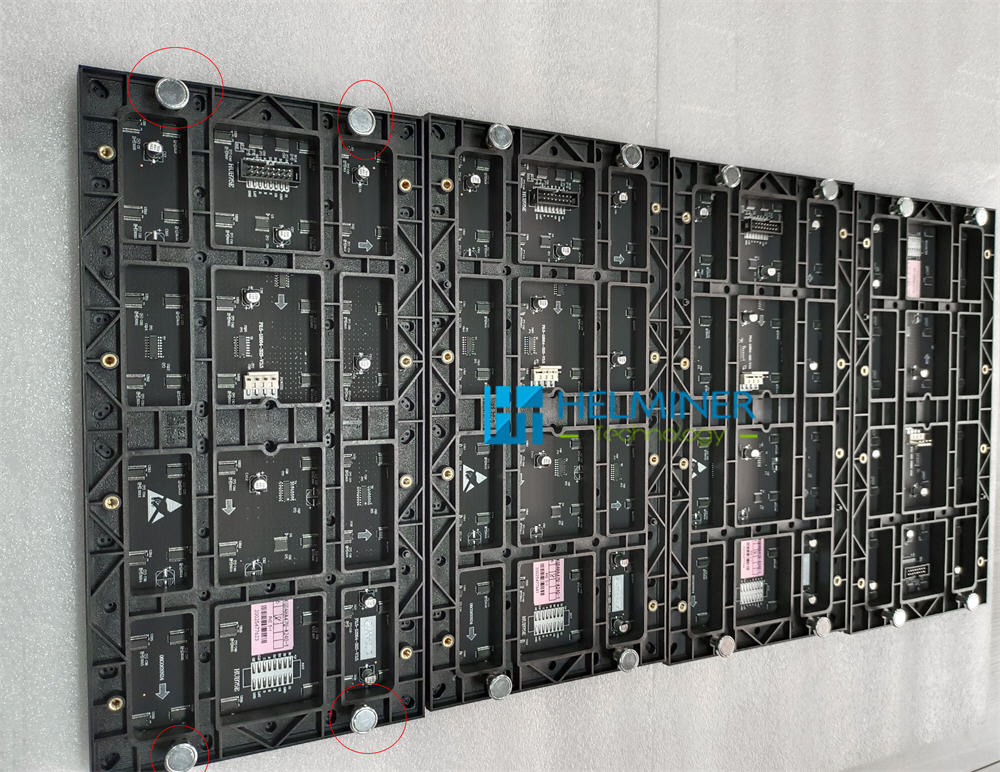
Each module is equipped with 4 magnets, which are ready for use after installation.
Recommendation:
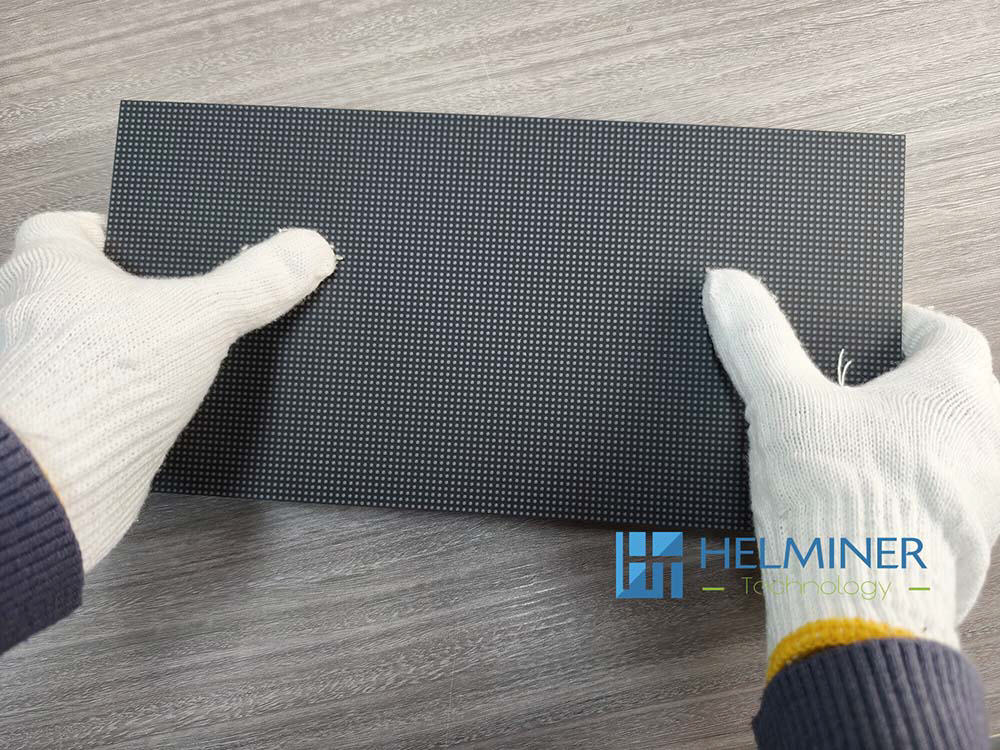
Wear anti-static gloves
when touching the front of the display .
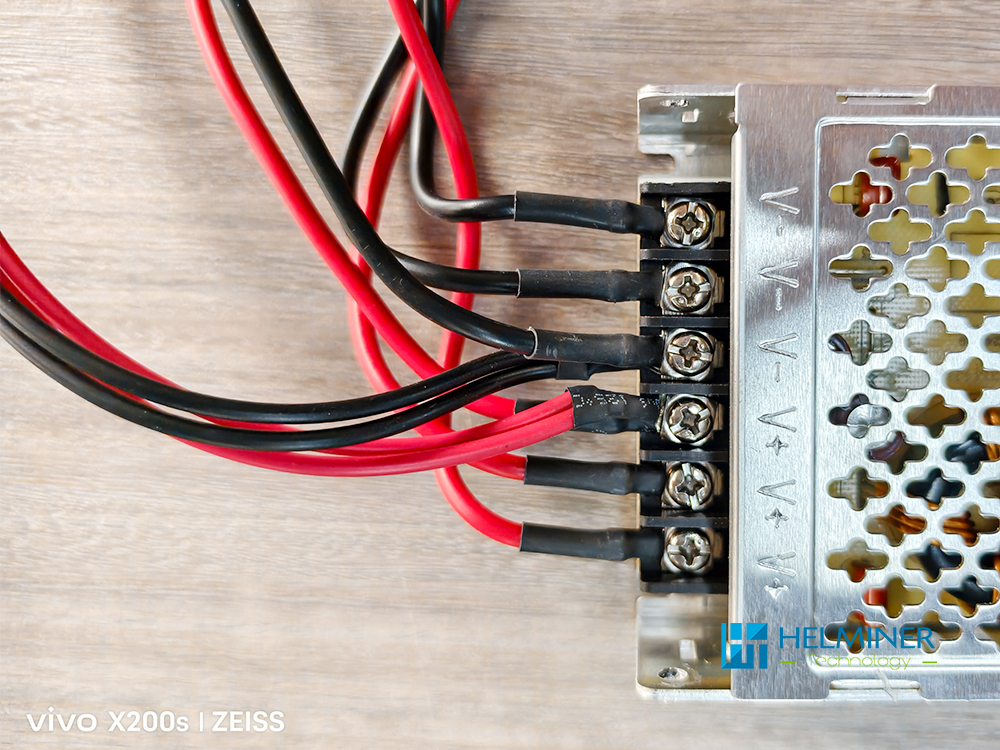
Start assembling the Power cable

One power supply connects to three module power cables and one data card power cable.
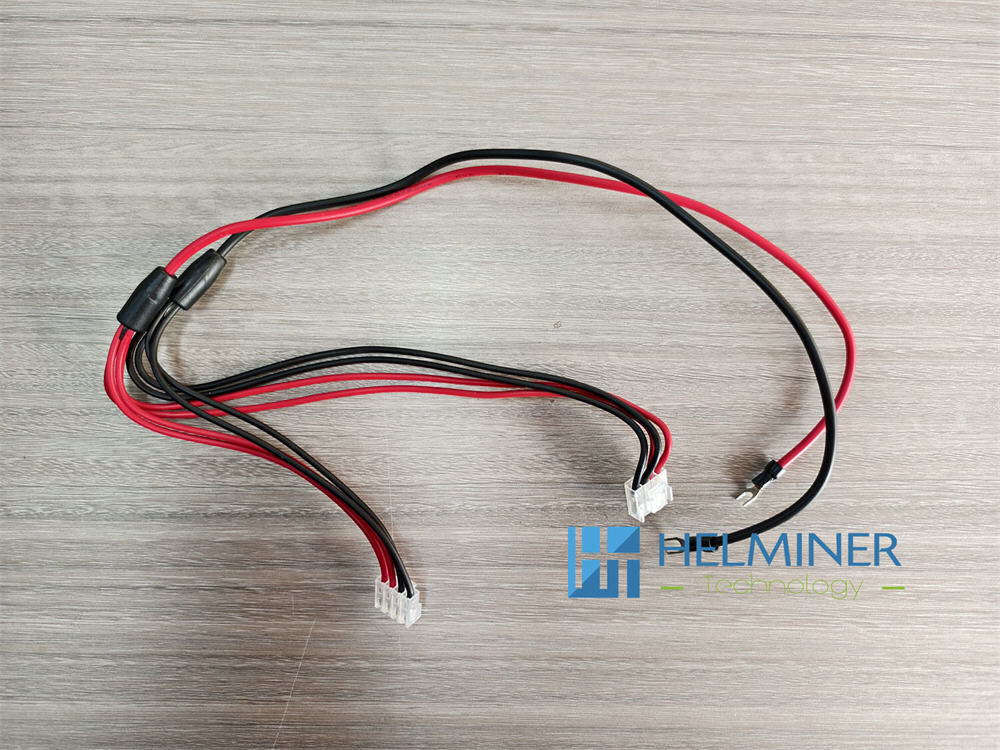
LED Module - Power cable
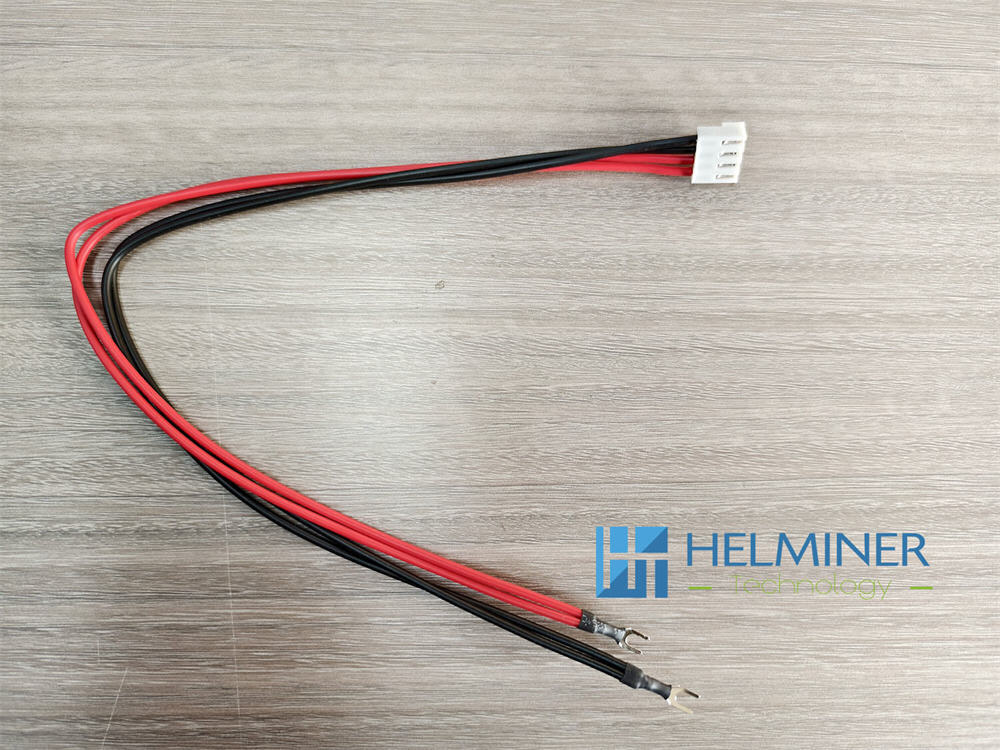
Data Card - Power cable
Start assembling the Data cable

The basic sample box is designed to use interfaces 1-6.
Data Card Model : DH7512-S
Data cards are divided into A | B | C
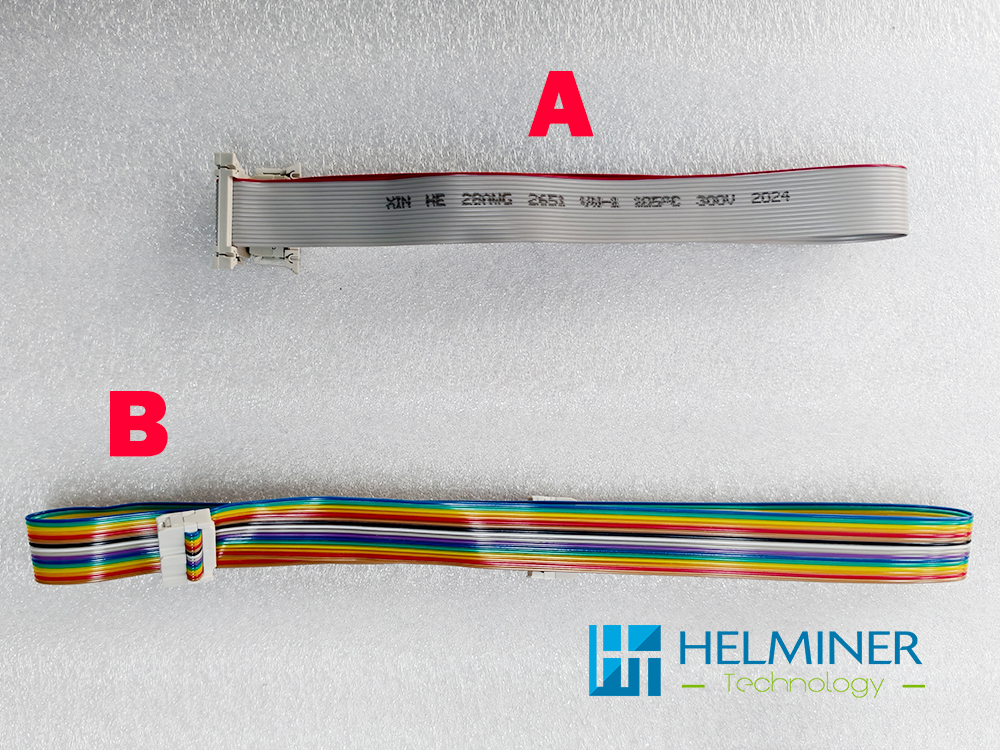
Connect interfaces NO.1, NO.5, and NO.6 to data cable "B".
Connect interfaces NO.2, NO.3, and NO.4 to data cable "A".
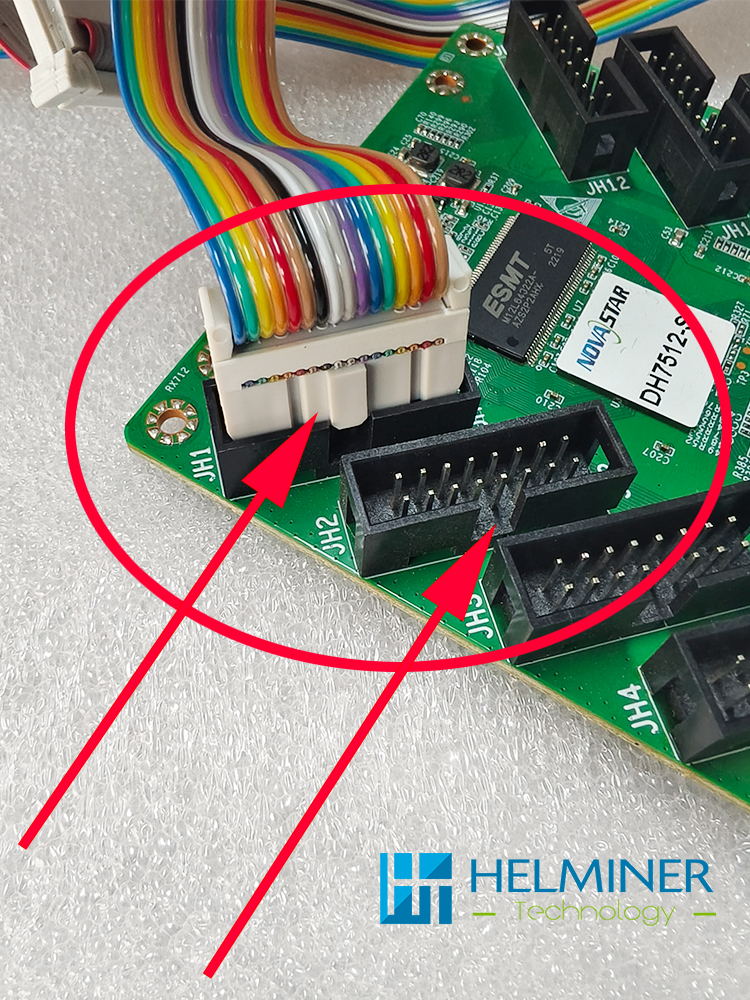
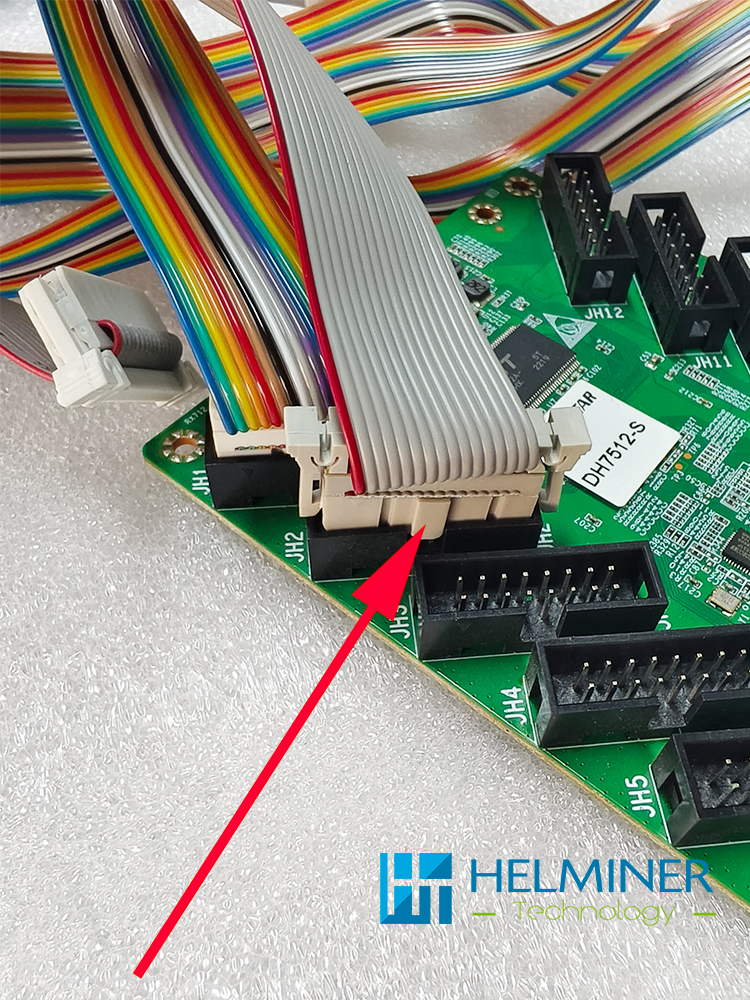
The data cable has a positive and negative insertion direction, which must be consistent with the direction in the picture. There is a square protruding port that is consistent with the concave port.

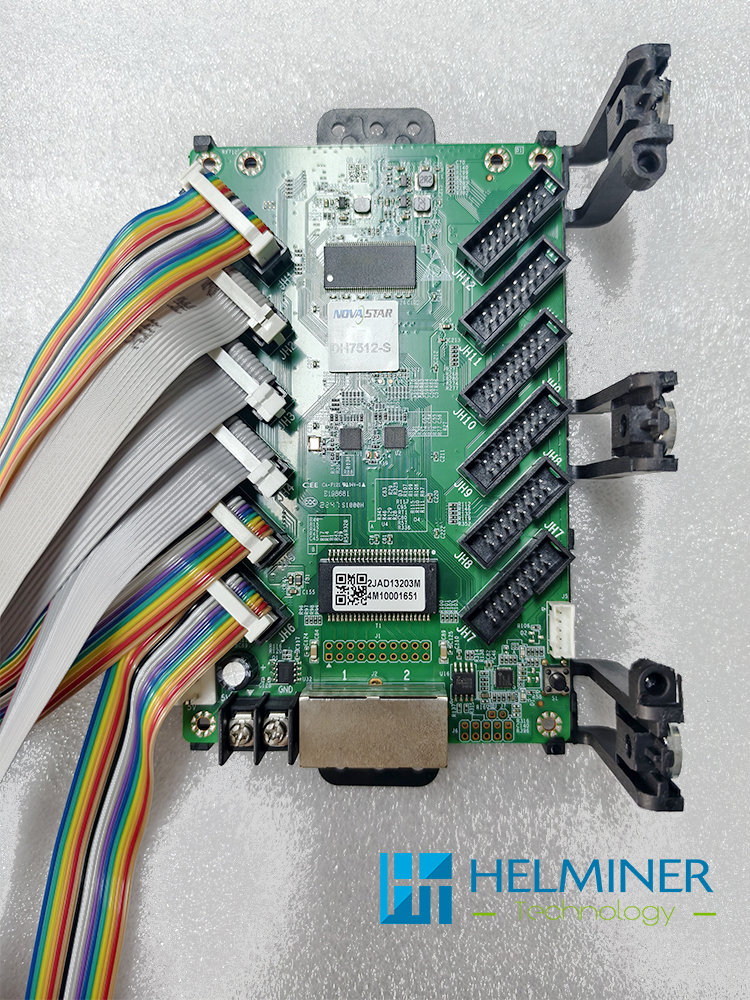
Secure the data card to the data card holder.
Previous article:
Assemble Structure
Next article:
Assemble Components To Structure ( Power | Data Card )