Start assembling the magnets
All operations are carried out under power off.
To avoid scratching the surface of the LED module, please put foam underneath.
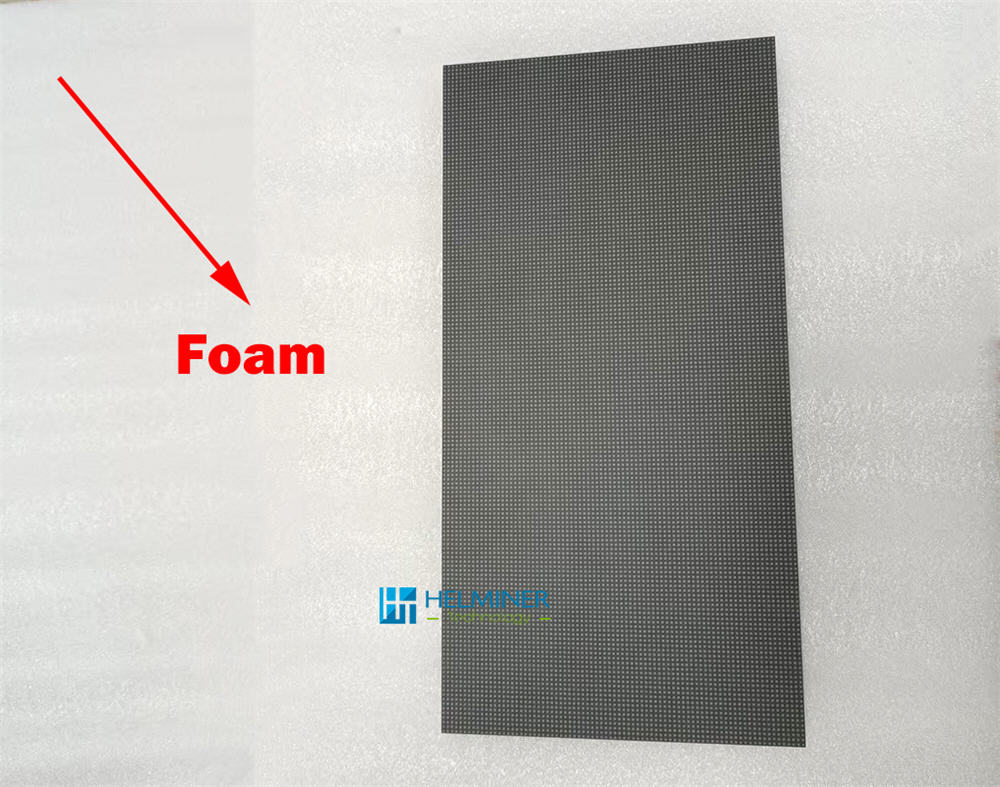
Lay the modules face down and flat,
do not stack them to avoid damage.
Prepare the magnets and start assembling.
Please do not directly touch or collide with any metal objects on the back of the electronic components to avoid static damage .
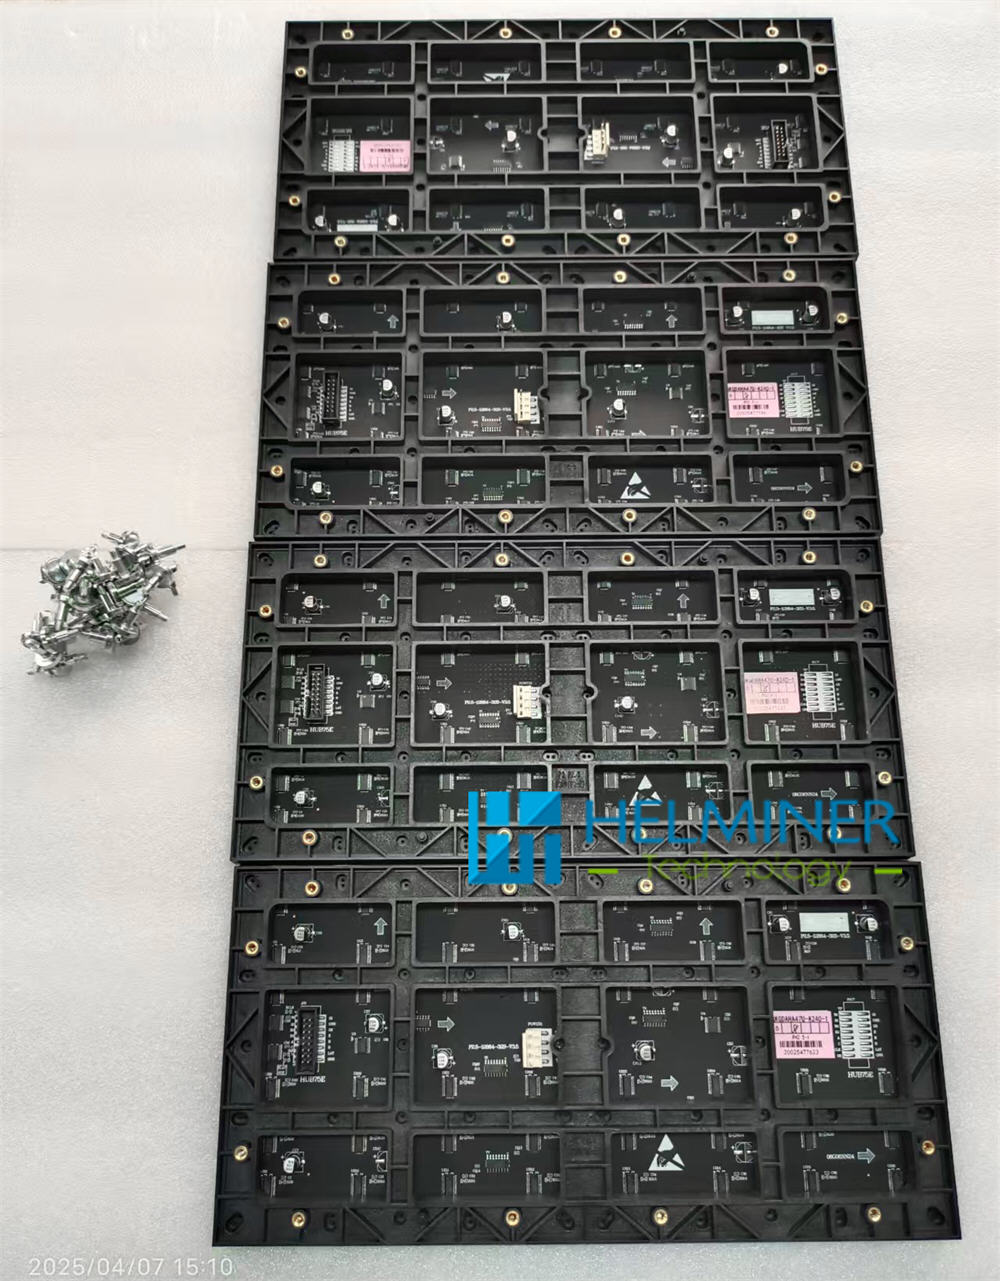
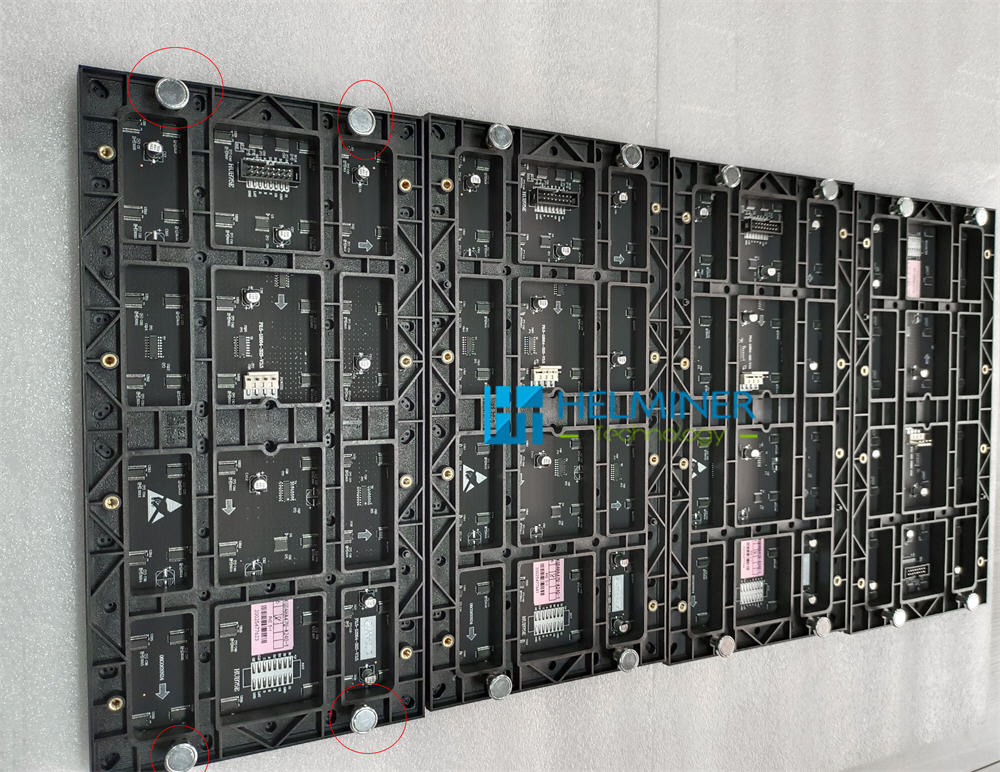
Each module is equipped with 4 magnets, which are ready for use after installation.
Recommendation:
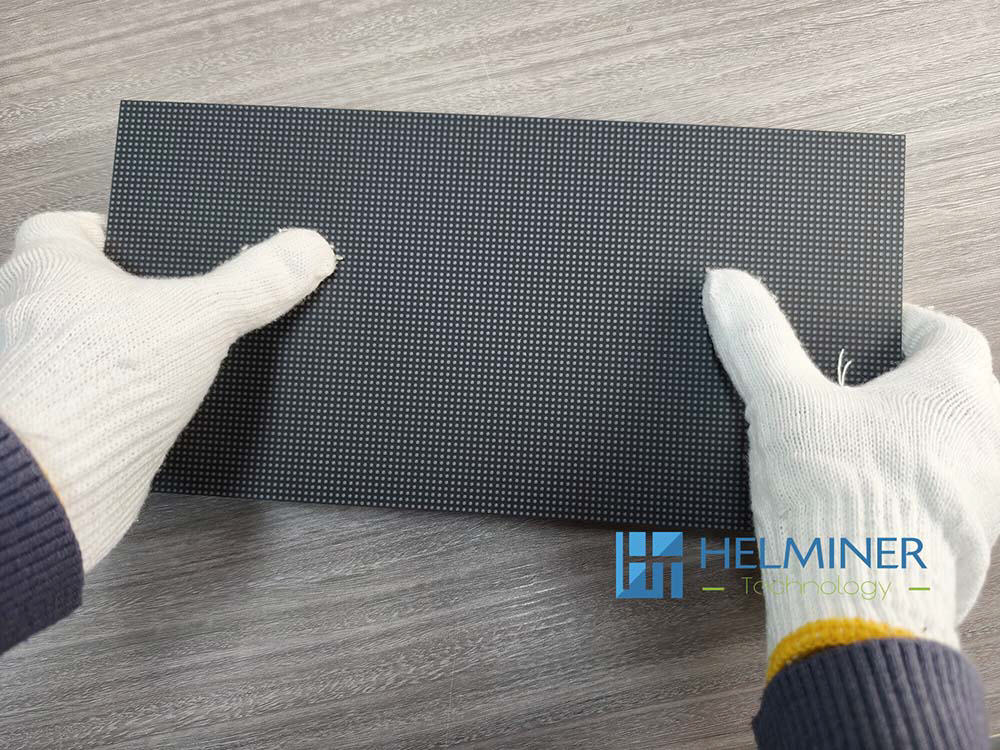
Wear anti-static gloves
when touching the front of the display .
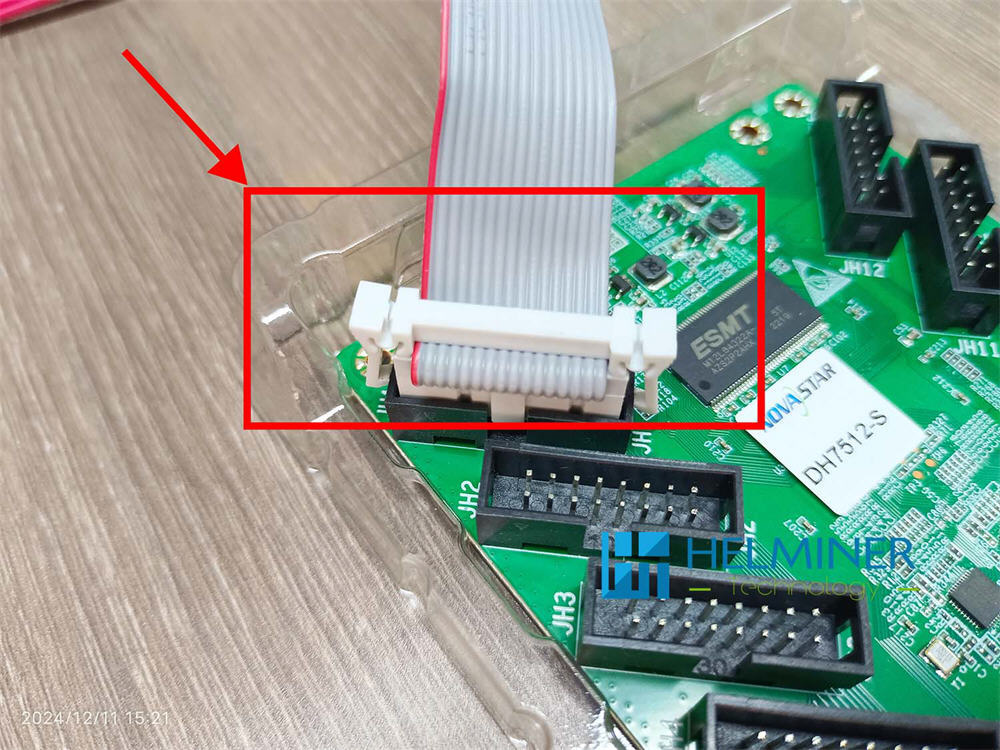
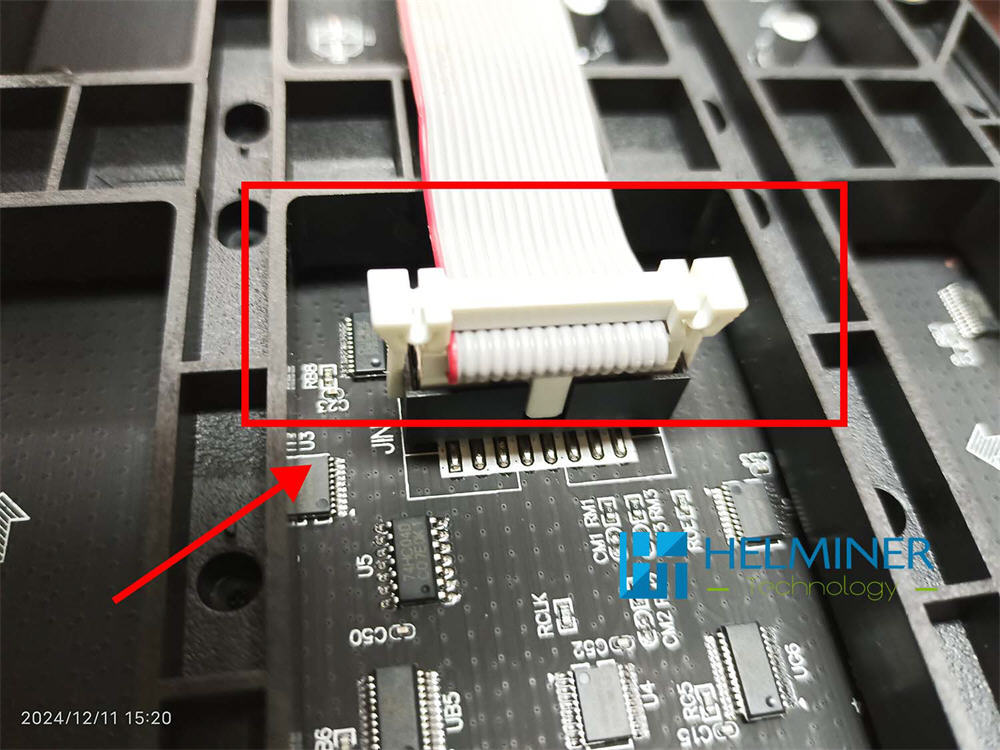
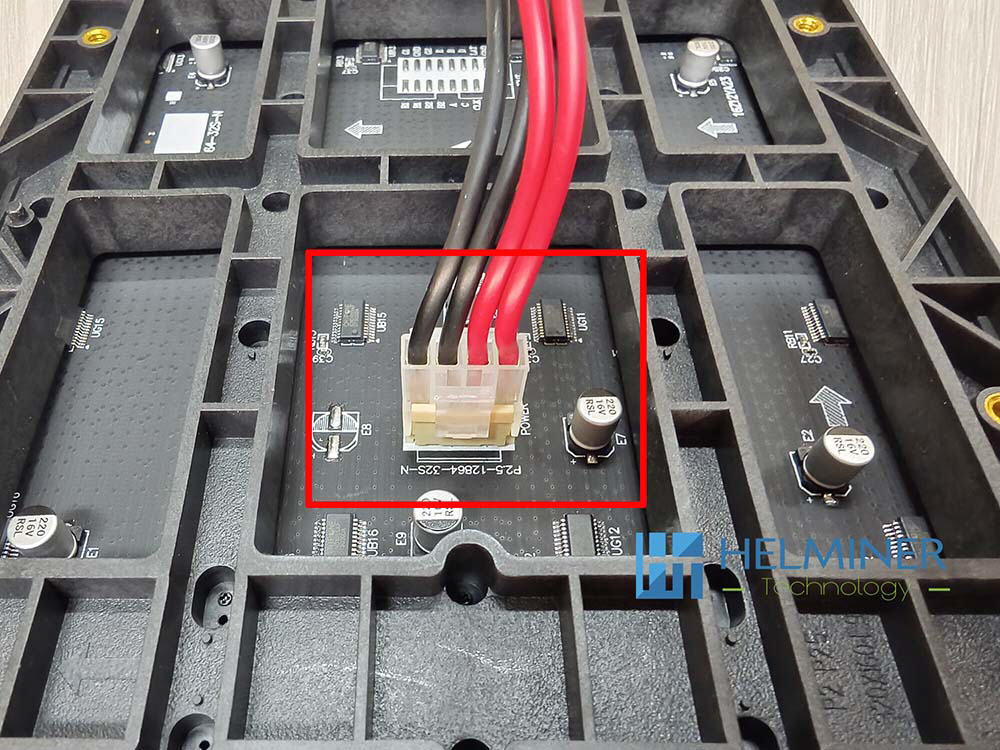
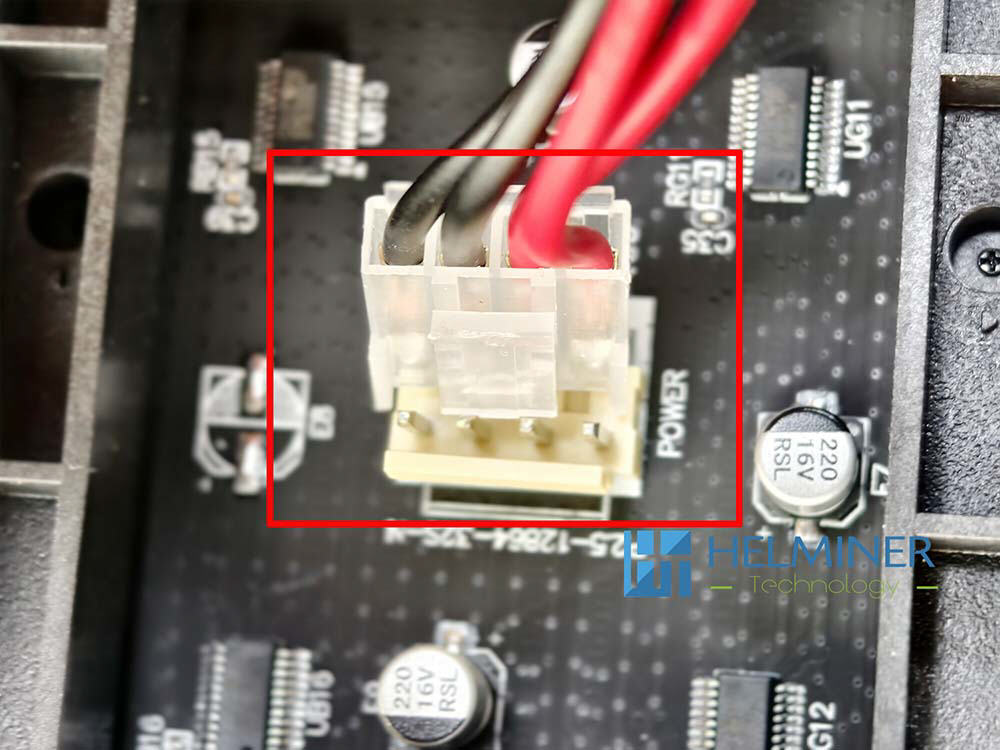
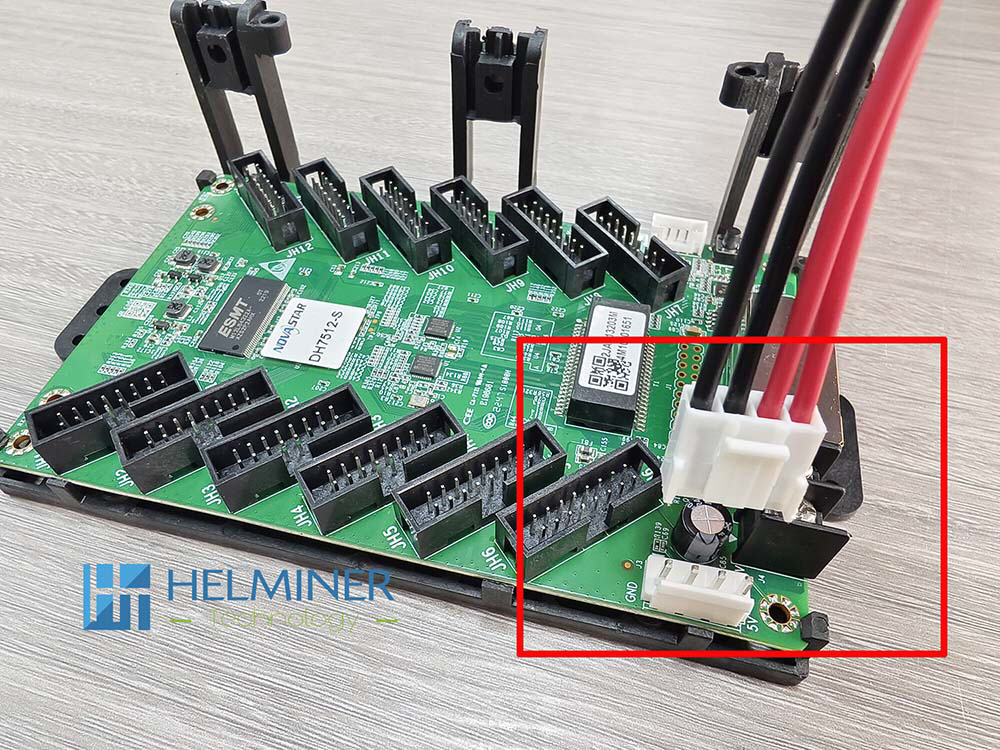
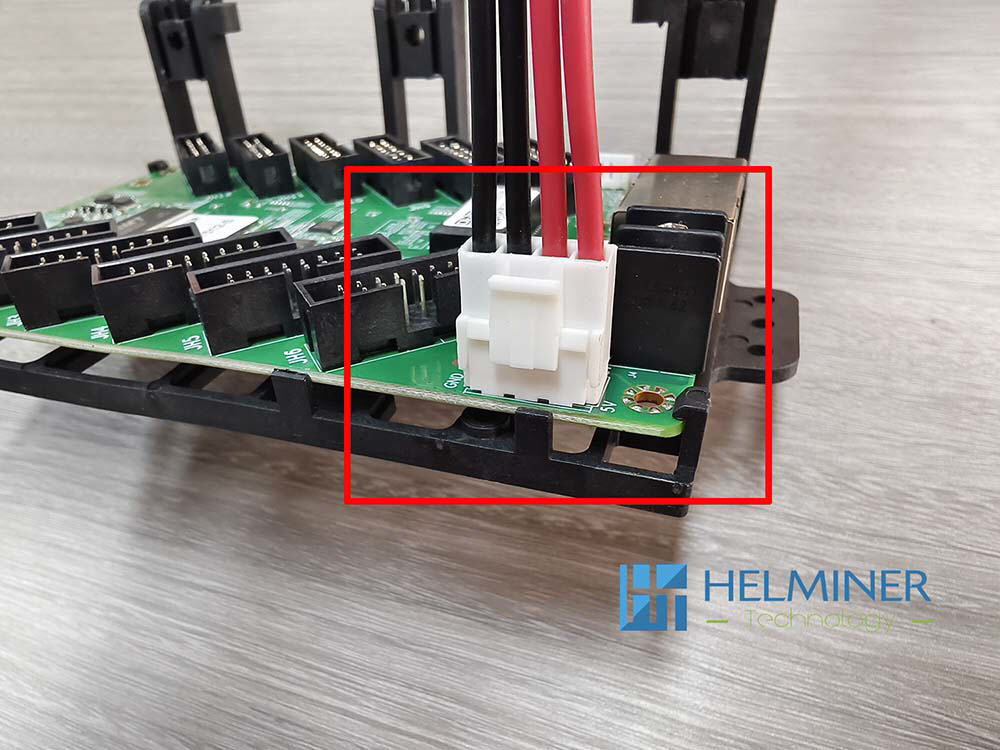
Start INSTALLATION POWER AND Data Card
- Install the power cable and data card cable to the 5V port of the power supply in advance
- Install the flat data cable to the corresponding position of the DATA CARD according to the drawing
- Fix the power supply and data cards to the support structure according to the reference position in the drawing.
- Connect the 220V input power cable of the LED POWER according to the connection sequence in the drawing
-
After the installation is complete, perform a preliminary inspection,
and then power on and check if everything is correct.
After confirming everything is correct, turn off the power. - Installation the LED Display Module
- Updating ....
Home > LED Wall Blog > Basic Sample Box > Start Assemble the led wall sample box